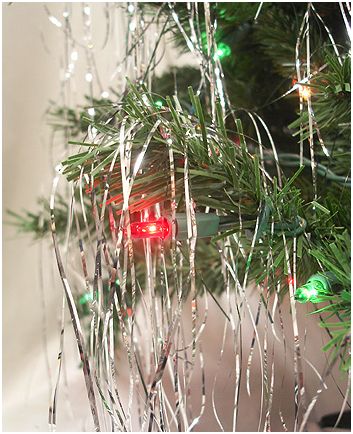
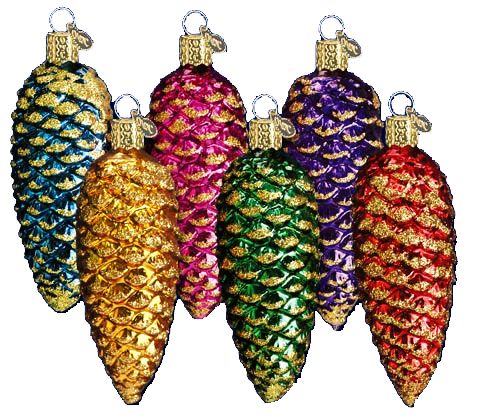
Day to Day Dreams
  • Home
  • Project Gallery
  • What's Cooking
  • Photography
  • About
  • Contact Me

The Perfect Tree 

12/6/2012

0 Comments


in 5 easy steps

Picture
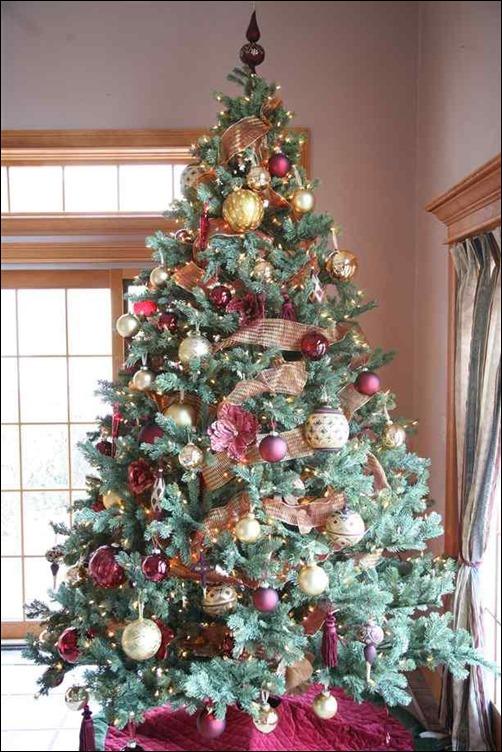
   Whether your tree is 3' or 12', real, artificial, tinsel or snow covered, the guidelines are the same. Here a few tips I learned from years of retail display, important details & top secret information....shhhh 

1. Hang your lights first

   It's important that you use minimum 100 lights per foot 7' tree= 700 lights,
thats bare minmum, bare. bare,bare minimum. I have a 7.5' tree with 1200 lights & I thinks it's perfect, hubby thinks I'm crazy, hydro department loves me!
   Start applying your lights from the top working your way around & down, when your done you want your plug at the bottom of the tree. While stringing lights, work your way from the inside to the outside of the tree, lights deep in the tree give dimension & trwinkle. White lights make for a more traditional tree, coloured is a little more festive, I'm a coloured lights gal myself, but I do love white lights too, every year I'm torn & every year I end up going with coloured.

2. Garland-ribbon-tinsel

   It can be a popcorn garland, beautiful ribbon or paper rings, whatever you use, this is the next step. Again, start at the top, work your way around & down weaving slightly inside the tree, garlands, ribbons etc., shouldn't sit just on the tree tips.

3. Ornaments - step 1

a) Before we start the ornaments, don't forget to hang some on the inside of your tree, again decorating the inside adds depth, sparkle, twinkle & richness.
 b) Hang the largest ornaments first, balancing them throughout the entire tree.
c) Next, hang your favourite/special ornaments in places of prominence so that they remain highly visible.

4. Ornaments - step 2

   Now fill in your tree with all the smaller decorations covering the entire tree, it is important to fill off the gaps, don't forget the inside, top & bottom.
The biggest mistake most people make is over decorating the middle of the tree, the sweet spot that everyone can reach, have a step stool handy to make reaching the top a breeze & either have a little one (who is eager to help decorate) do the bottom or rest your tush & do the bottom yourself.

5. Grand Finale

   The final touch, the piece de resistance (best feature). the perfect finish... the tree topper.
  Whether you use a star, an angel, bow or finial, your perfect tree needs the perfect topper and this always goes on at the end but PLEASE make sure it sits straight, nothing worse than a crooked star or a bending angel.

Important Tips

Picture


If you must use this type of tinsel please be very careful, this is dangerous around small chldren, dogs & cats. If using, use sparingly, not as pictured above, LOL
Picture
Green hooks are better than silver, they blend in better with the tree;
Picture
If you use silver hooks, why not consider bending them, adding beads, great craft for the kids.
Picture
If you have small children, happy dogs with big tails or carzy cats, you might want to consider plastic decorations at the bottom of the tree.
Picture
Don't forget to crank up the Christmas tunes, my personal favourite is this hunky, loveable, funny Canadian guy and Oh, can he sing! Michael Buble (I love him).
Picture
Best investment ever ! 
No more crawling under a tree, reaching through or putting your life in danger (exaggerating again) while trying to turn on the lights every night.

On/Off switch for Christmas lights both run around $10 each, I have the metal tree (below) it's actually a tri light as well so I can make my lights bight, med or dim, I love it!
Picture

Happy Decorating !

How many days 'til Chrismas?
Check right up to the second here, it's a Christmas Clock.

0 Comments


Leave a Reply.

    Picture
    Picture
    Picture
    Picture

    Archives

    July 2021
    March 2021
    August 2020
    April 2020
    March 2020
    January 2019
    January 2018
    July 2017
    May 2017
    March 2017
    February 2017
    January 2017
    November 2016
    October 2016
    September 2016
    August 2016
    July 2016
    June 2016
    May 2016
    April 2016
    January 2016
    December 2015
    November 2015
    October 2015
    September 2015
    August 2015
    July 2015
    June 2015
    May 2015
    April 2015
    March 2015
    February 2015
    January 2015
    December 2014
    November 2014
    October 2014
    September 2014
    August 2014
    July 2014
    June 2014
    May 2014
    April 2014
    March 2014
    February 2014
    January 2014
    December 2013
    November 2013
    October 2013
    September 2013
    August 2013
    July 2013
    June 2013
    May 2013
    April 2013
    March 2013
    February 2013
    January 2013
    December 2012
    November 2012


  Copyright 2012-2016 *  Day to Day Dreams  *  All Rights Reserved
  • Home
  • Project Gallery
  • What's Cooking
  • Photography
  • About
  • Contact Me