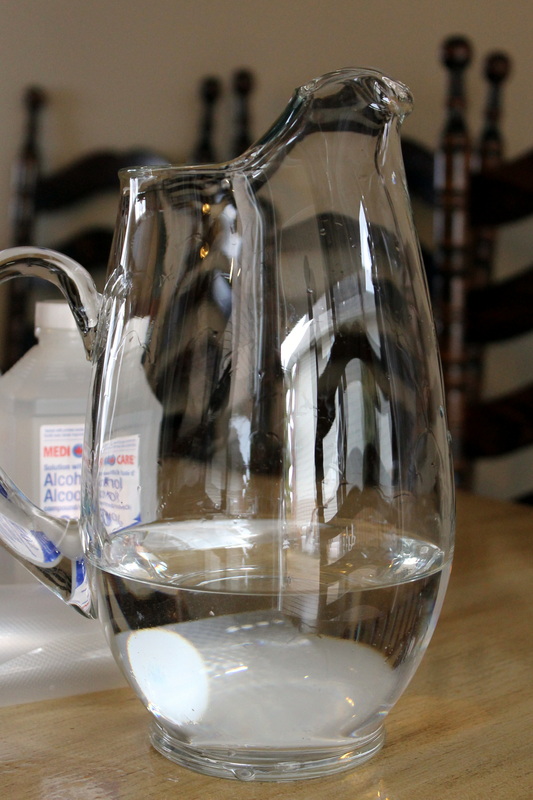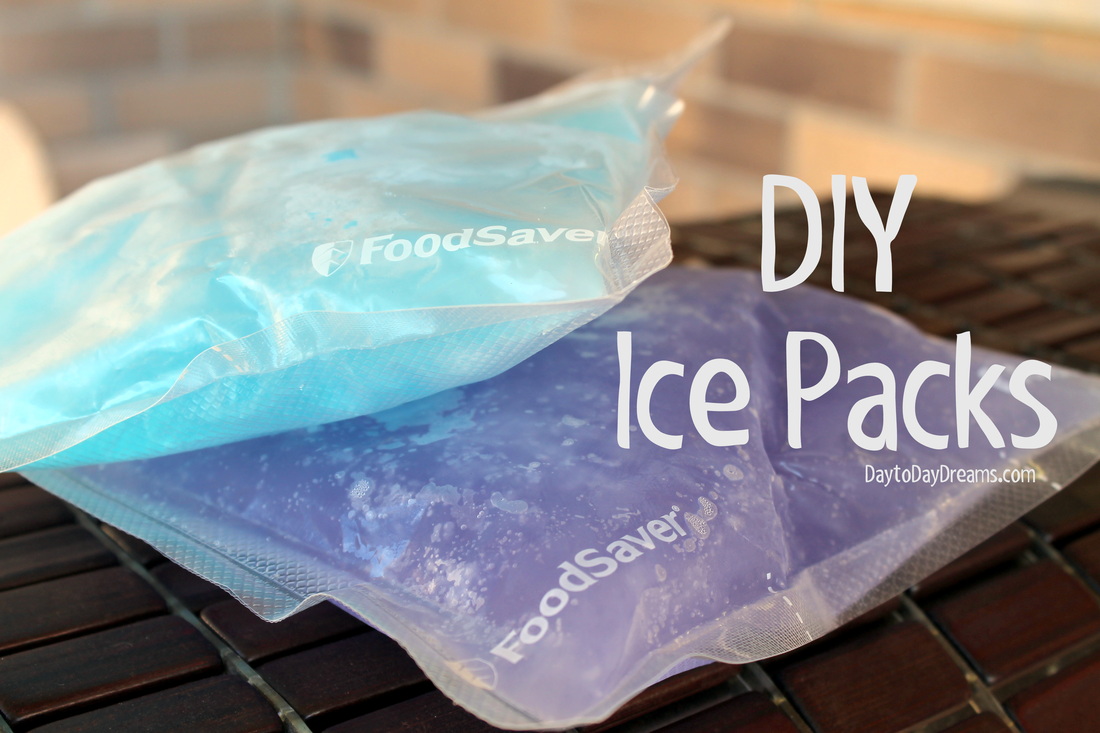
I was mindlessly surfing Pinterest, (if you aren't aware of what that is, message me - I'll invite you) and I discovered homemade ice packs. I visited a couple different websites to research the various concoctions and the following is what I did to create flexible, almost frozen ice packs. These would be perfect for an injury or a cooler :) 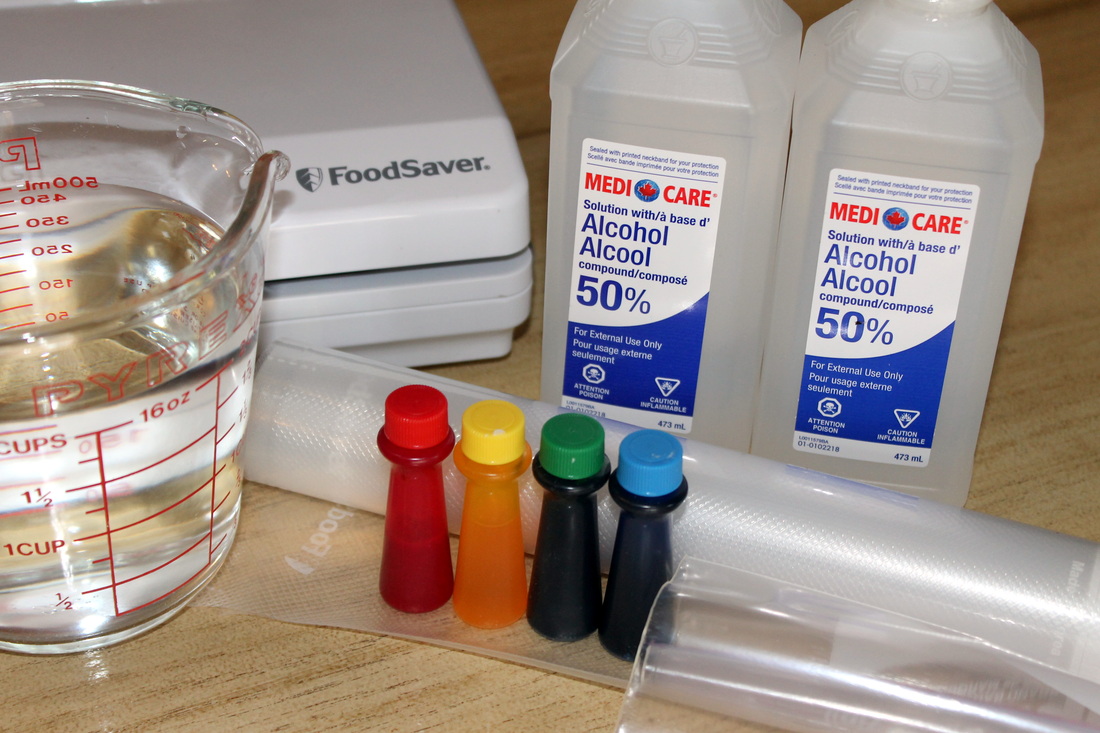 I figured it probably cost me $1.50 to make 2 ice packs, they would retail for approximately $5.00 each - that's a whopping $8.50 SAVINGS!
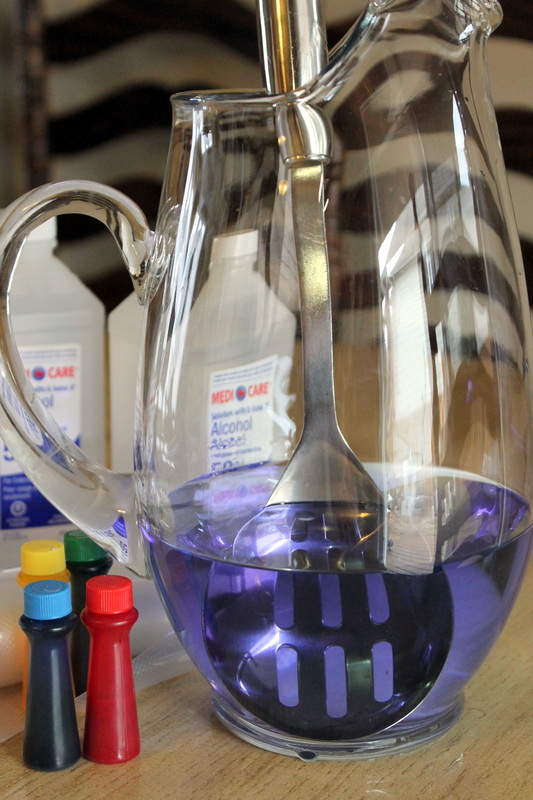
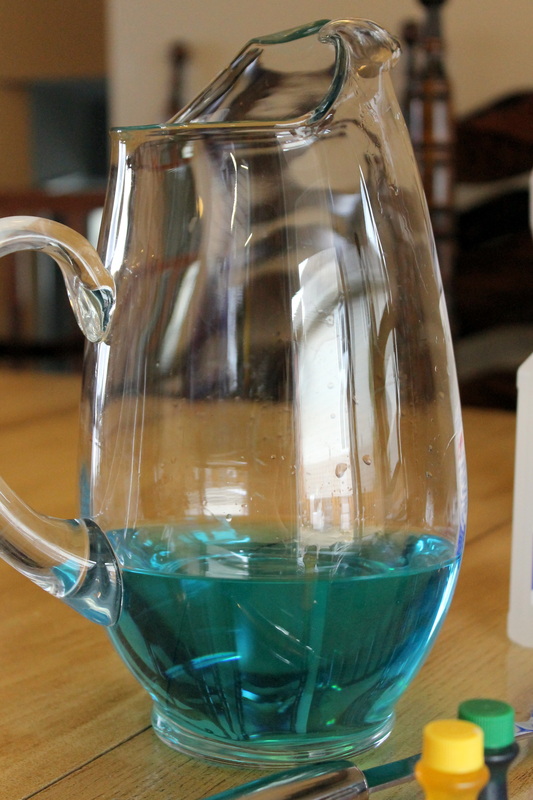
I did my first one purple, only because I have a purple lovin', horse back riding, soccer playing, monkey bar climbing, 7 year old niece. It's for her. Now I have to do a blue for her 11 year old sister, the hockey playing, peace sign lovin', hippy chick.
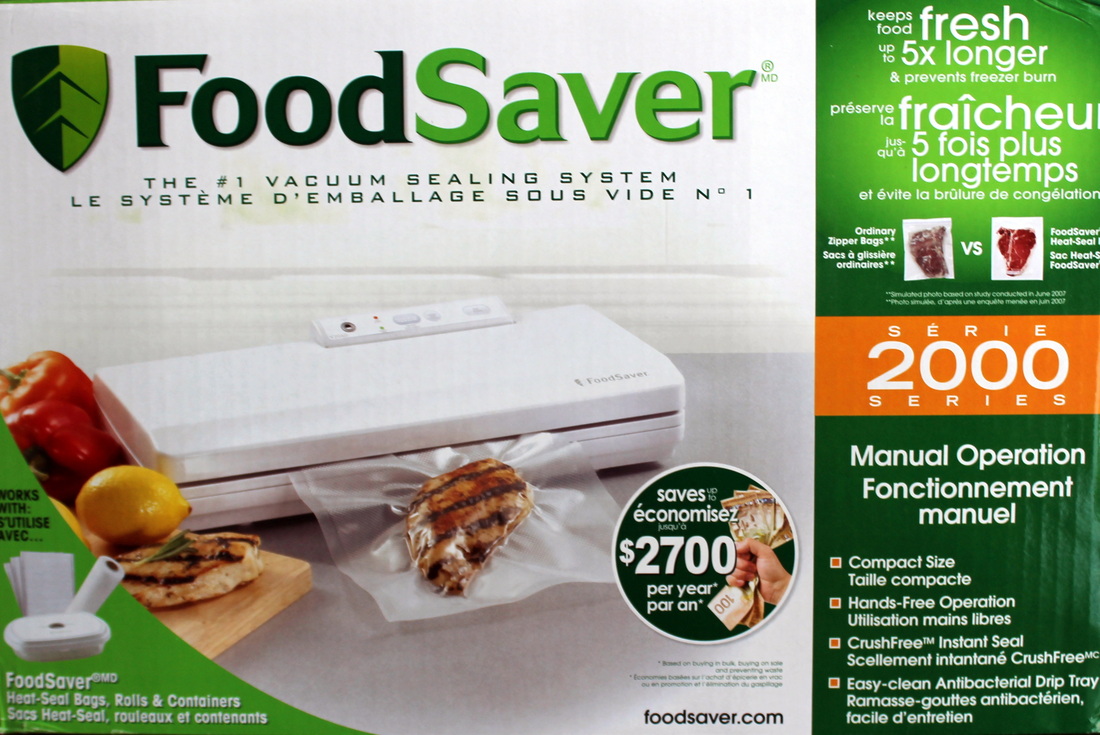
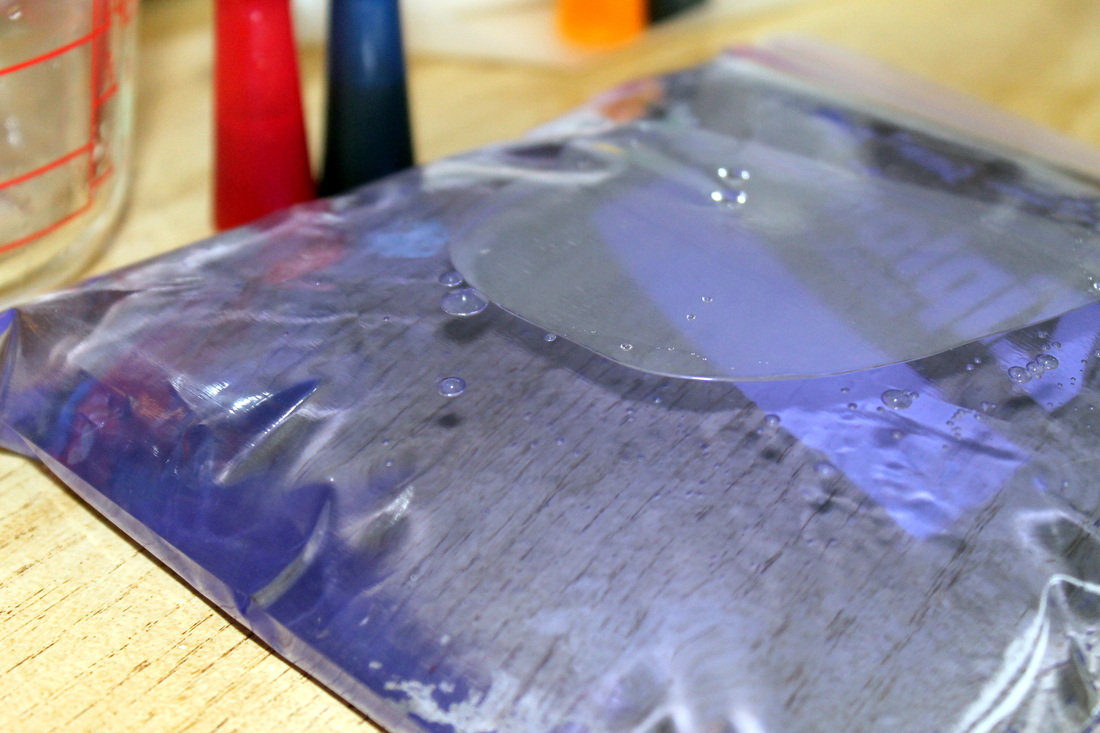
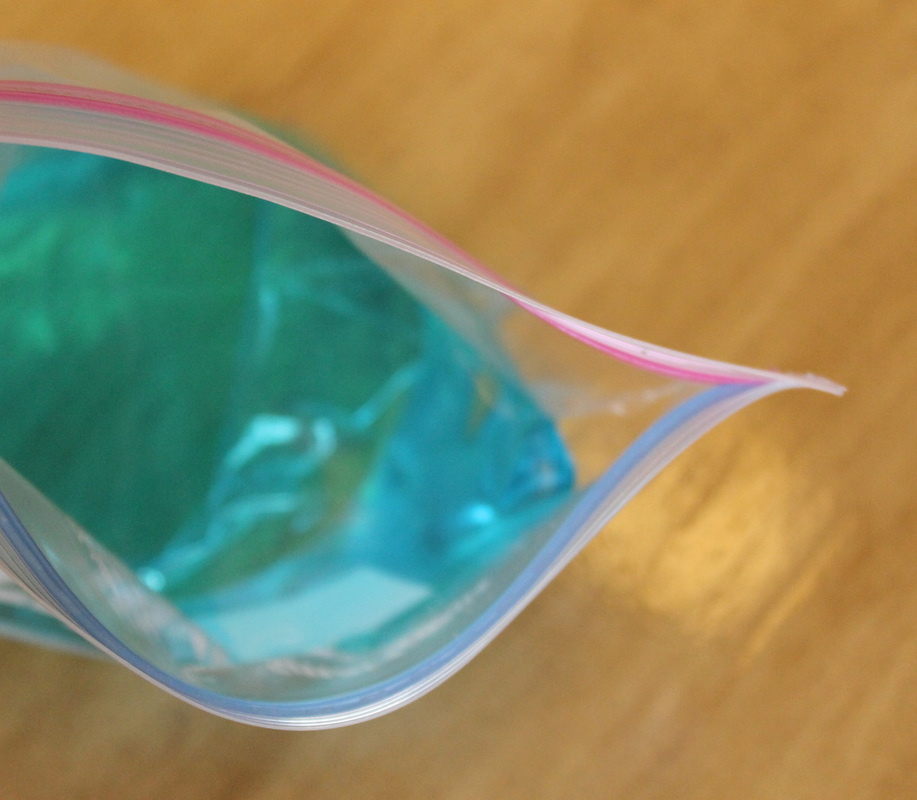
Then using my FoodSaver roll, I created bags that fit each ice pack perfectly. I prefer the FoodSaver rolls over the bags, they are much more customizable (is that a word?) 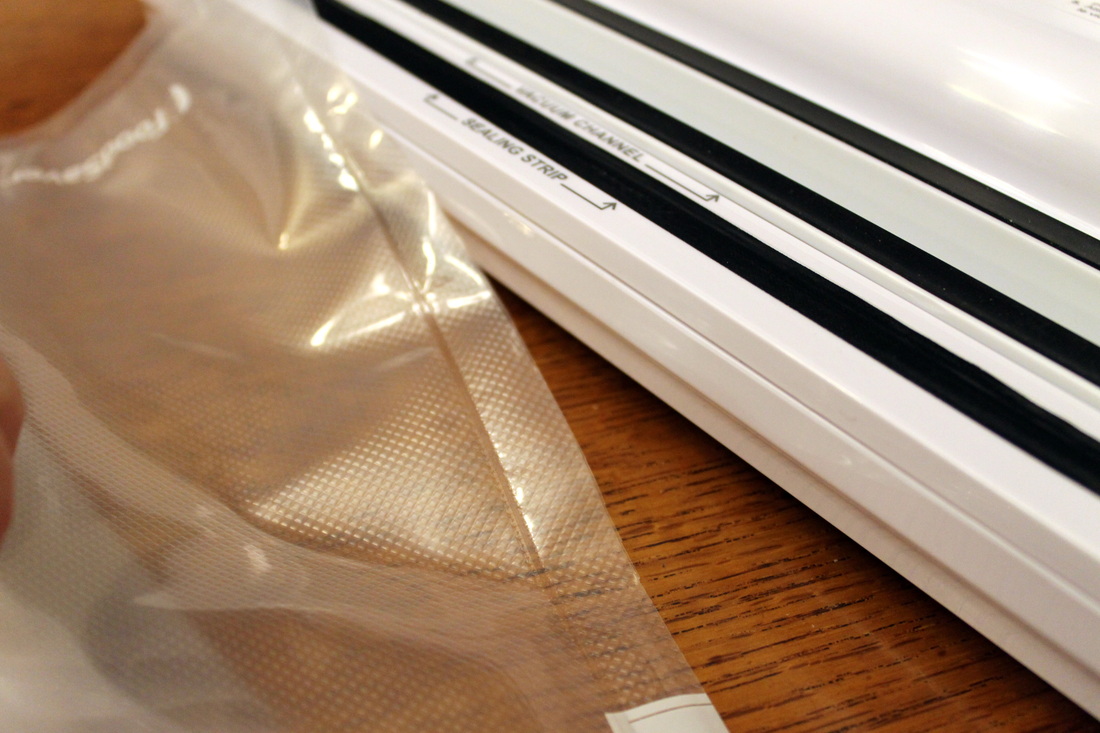 I vacuum sealed each baggie - using my FoodSaver ensures NO LEAKING! (unless of course bag is punctured) Perfectly sealed and ready for the freezer. 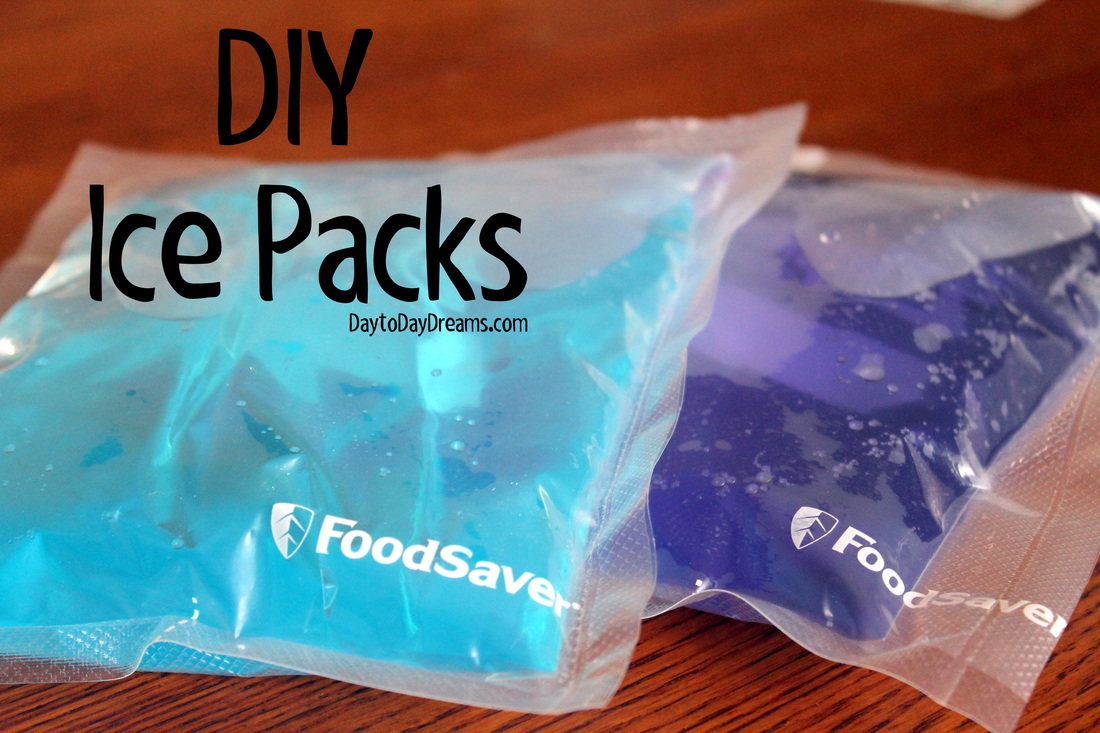 Frozen enough to stand on it's own yet flexible enough for an elbow, knee or head. All chilled and ready to go! 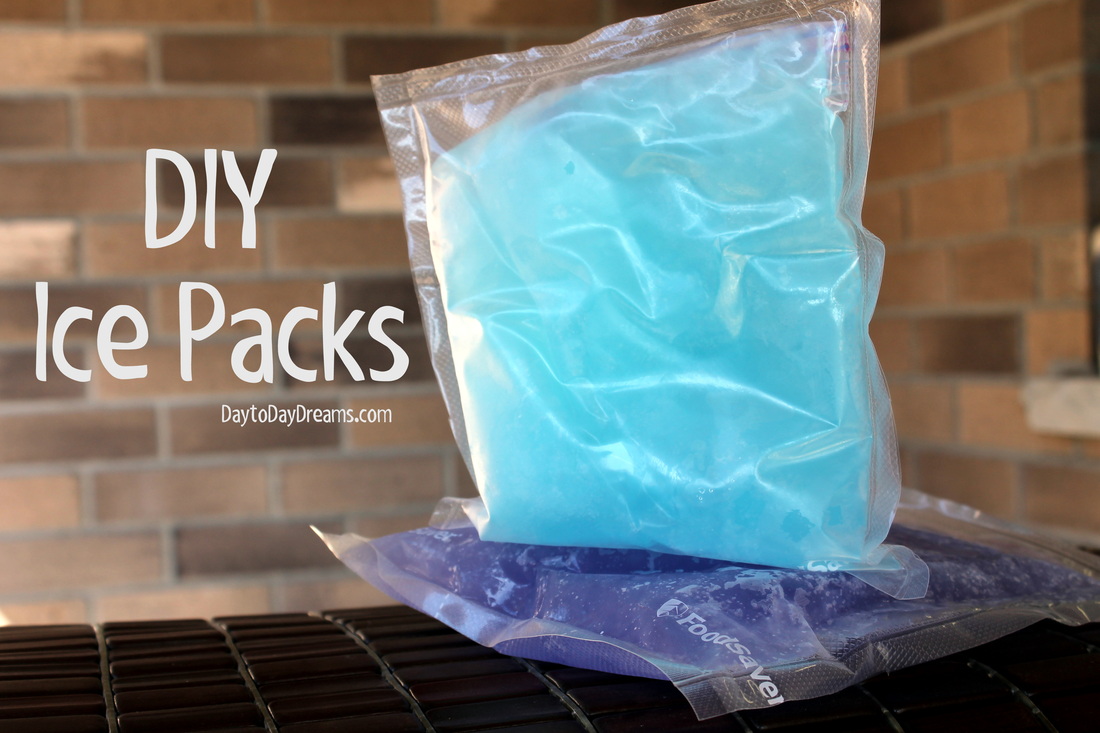
28 Comments
Donna
4/18/2013 12:35:28 pm
Awesome idea!! Now I just need to find someone with a food saver bag system to make me some for my classroom!! :)
Terry
8/10/2013 12:09:31 am
I have the system and have done this for years without the alcohol or food coloring. Thanks for sharing.
Michelle - Day to day Dreams
8/10/2013 07:58:03 am
I added the alcohol to make the ice packs flexible so that they can be used on scraped knees, sore elbows, head bumps etc. I added 1 drop of food colouring to each just so that the kids could each have their own colour. Thanks for visiting!
debi t
8/10/2013 07:23:26 am
I would gladly help you if you were in my area ask around!!
Joe
8/10/2013 01:02:50 am
If your using 50% alcohol...you might as well use Liquor...then if the bag leaks you won't get poisoned
Michelle - Day to Day Dreams
8/10/2013 04:02:57 am
Hey Joe,
beth
8/10/2013 04:49:18 am
What's the reason for the alcohol
steve
8/10/2013 05:42:34 am
Alcohol lowers the freezing point therefore making it colder.
Kathy Hutchins
8/10/2013 05:55:13 am
Alcohol keeps it from freezing completely so it will be flexible instead of hard as a rock ice.
beth
8/10/2013 10:07:17 am
OK thanks. Rotator cuff surgery in my future. I will store some of these. Very timely.
Debi Pennington
8/10/2013 07:19:10 am
I'd be concerned that the food coloring might stain something if the bag leaked.
Michelle - Day to Day Dreams
8/10/2013 08:00:31 am
Hi Debi
Carole
8/10/2013 09:35:16 am
OK kids.....I'm confused. Do you leave it in the resealable bag and then put it in a FoodSaver bag and seal it? I see the picture of the the liquid in the resealable bag and then in the FoodSaver bag but it doesn't look like it's in two bags. I'd love to do this but want to be sure I'm doing it correctly. Thanks!
Michelle - Day to Day Dreams
8/10/2013 10:13:42 am
Hi Carole 8/10/2013 01:27:26 pm
If you don't want to double bag it (for whatever reason) you could freeze it first in a zip lock then remove it from the zip lock and put it in a vacuum bag.
Michelle - Day to Day Dreams.com
8/15/2013 12:02:52 pm
Pina Colada.......Daiquiri....... Margarita....
Collette
7/12/2014 04:25:03 pm
Sounds like a plan for the mixed drinks, sort of like Capri Sun with the straw attached. lol, but is doable.
Michelle @ Day to Day Dreams
7/12/2014 05:29:18 pm
Exactly Collette.... 7/13/2014 06:35:43 am
Who needs a straw? Cut the corner off and squeeze it into your mouth.
Michelle @ Day to Day Dreams
7/13/2014 02:23:05 pm
Sounds like a good idea Steve!!
geneva
7/28/2014 01:58:21 am
I love my food saver! Has saved me many dollars, this is a wonderful idea. We have two ice packs that stay in the freezer, but could use these for mini coolers, or take grocery shopping for your chilled products. You can sew up two face cloths for covers for these, also.
shirley
8/2/2014 01:53:06 am
Geneva that is an awesome idea to sew covers for them..
Regina
8/6/2014 05:20:28 pm
@beth ... My hubby had shoulder surgery in January. I had made up a few of these and he used them instead of renting the water-circulating machine the dr prescribed, which would have cost us a couple hundred dollars for two weeks. These worked VERY well.... And stayed cold for up to two hours at a time. Be sure to wrap them in a towel and NOT place them directly on your skin!
Michelle - Day to Day Dreams
8/7/2014 01:16:26 am
Thanks for your feedback Regina :)
Jackie
6/8/2015 02:20:28 am
How long do the DIY Ice Packs last in a cooler using the alcohol concoction? I want to make these for my 5 day camping trip. We're not allowed to bring glass, so I may opt to use our vodka instead of the rubbing alcohol. Do you know how long this option might last keeping items cold in a cooler? Thanks :) Great post btw!
Michelle - Day to Day Dreams
6/9/2015 05:40:33 pm
Hi Jackie, Leave a Reply. |